
Mixed Media Gallery Wall: Design Like a Pro Today
Key Takeaways
- A mixed media gallery wall blends framed photos, prints, and objects, unified by a simple theme and color palette;
- Plan first by mapping your gallery wall layout on the floor or with painter’s tape, keeping 2 to 3 inches between pieces for balance;
- Repeat one or two unifying elements, such as frame color, frames and mats, or tone, so different pieces still look curated;
- Adhesive, repositionable Mixtiles make hanging nail-free, damage-free, and easy to refresh over time.
A mixed media gallery wall turns your favorite photos, art prints, and small objects into wall decor that looks intentional, not cluttered. The secret is variety with unity. In this guide, you will pick a theme and palette, choose the right mix of media, plan a balanced gallery wall layout, and hang it without damage. Whether you rent or own your home, Mixtiles adhesive tiles and gallery wall kits make it simple to design, try, and tweak until it feels just right.
Turn your favorite photos into beautiful custom canvas prints. Explore our collection of peel-and-stick wall arts and start your gallery today.
What is a mixed media gallery wall, and why does it work?
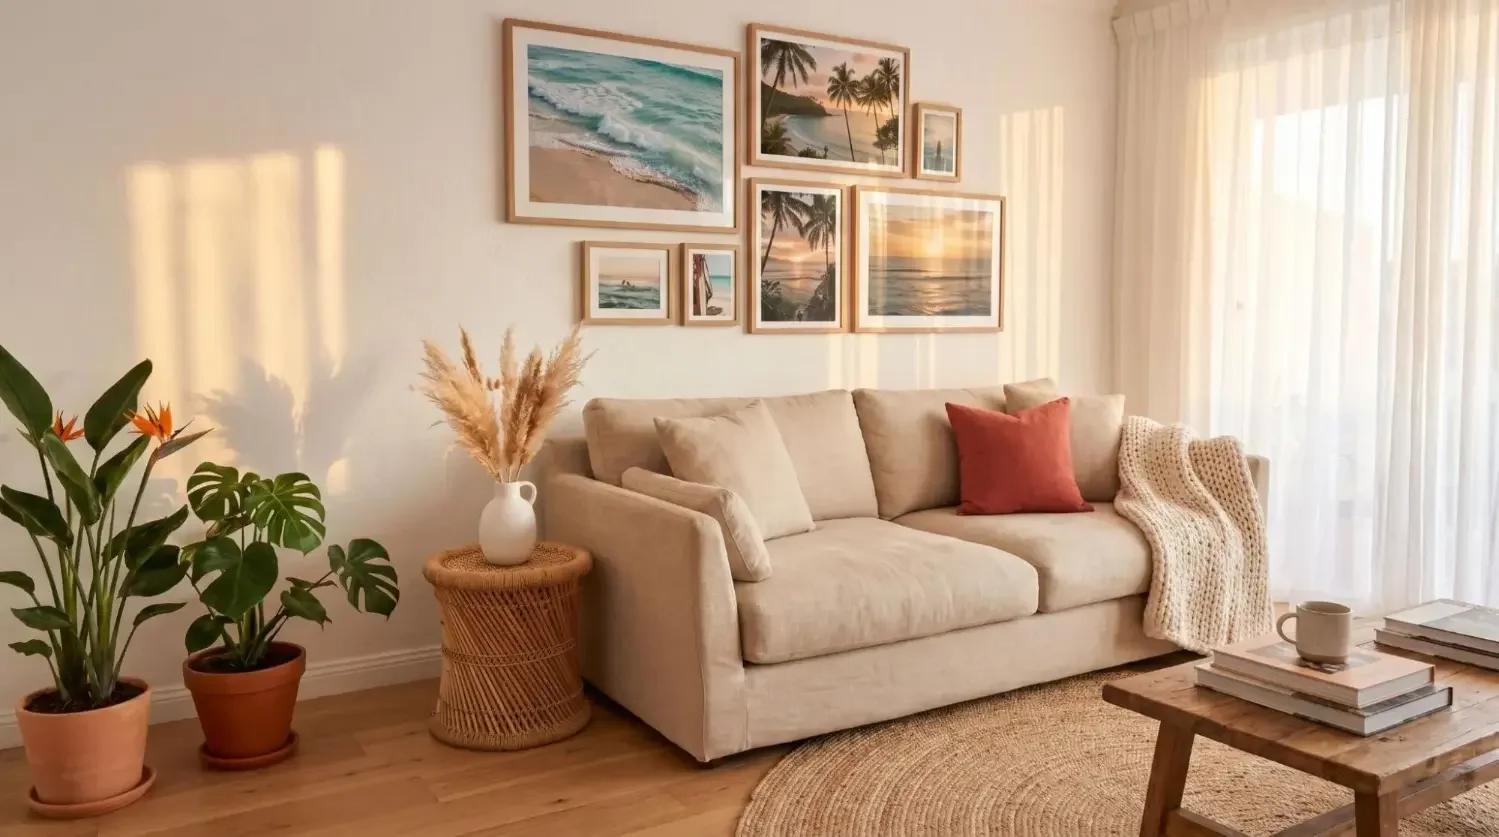
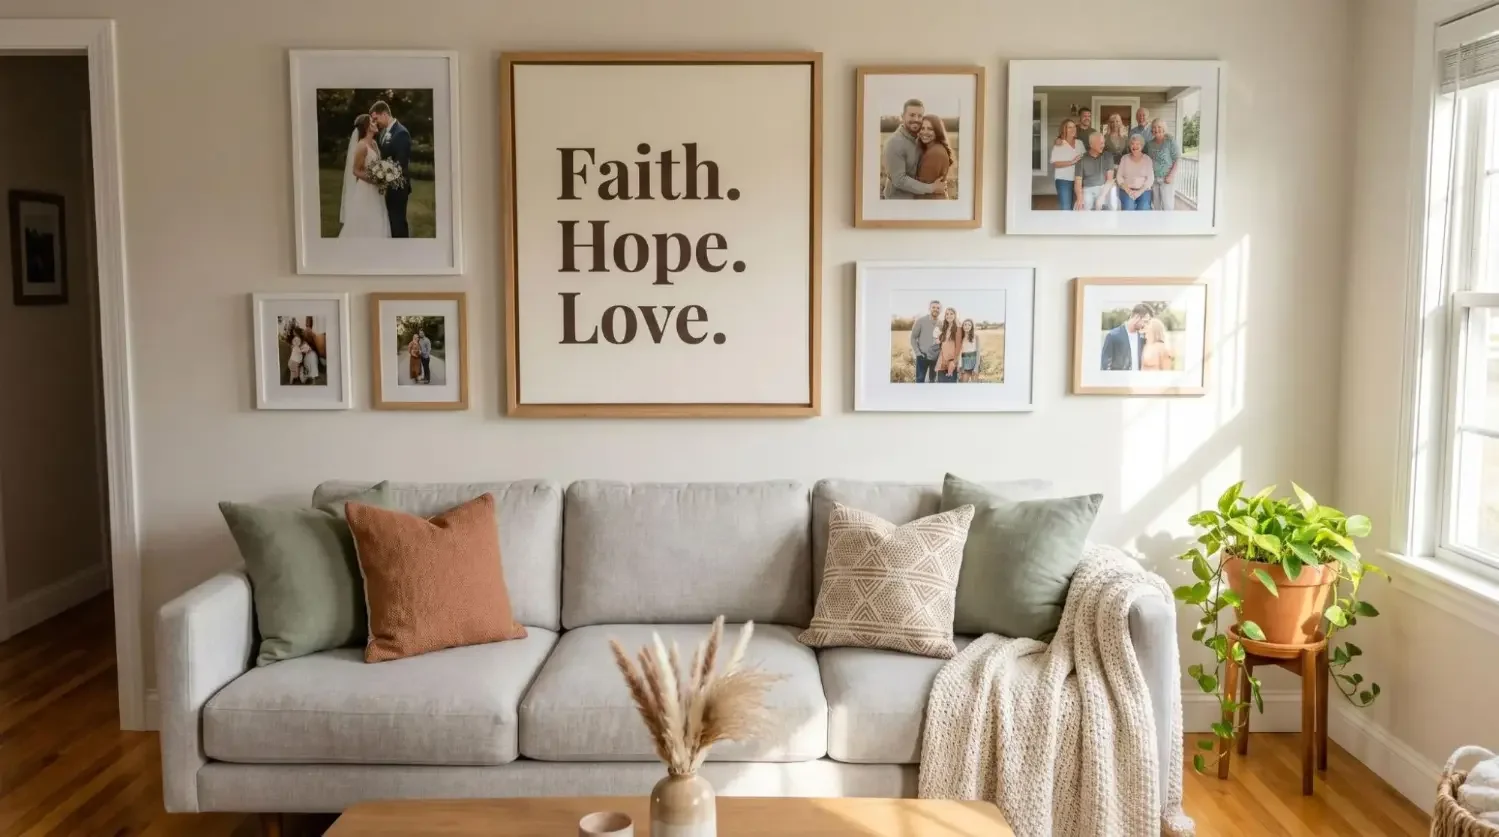
It is a gallery that combines framed photos, fine art prints, canvas prints, mirrors, textiles, and small 3D pieces, all put together around a shared story. It works because contrast and repetition live side by side. You might mix different textures and shapes, then repeat a color, a picture frame finish, or white frames to tie everything together. These gallery walls shine in a living room, hallway, staircase, bedroom, or entryway where you want eye-catching wall art.
How do you choose a cohesive theme and color palette?
Pick a simple theme you care about (such as travel, family, nature, or abstract art), then anchor your gallery with two to three colors. Try a neutral base with one accent, or go monochrome photos with a warm metallic like brass. Repeat unifiers such as frame color, frames and mats, subject matter, or wood finishes so different pieces still look like one design. Personalize with your own photos, a child’s drawing, or a small oil painting to keep the gallery unique and not generic.
Which media should you mix for depth and character?
Blend framed photos and prints with a few tactile elements, such as a mirror or a small shelf, so the wall has rhythm and depth without feeling busy.
Start with a focal piece
Choose one hero item that sets the mood, for example a larger canvas or a bold photo. Place it near the center or slightly off-center, then build around it with smaller framed pieces. This helps the eye settle and makes the gallery look intentional.
Balance textures, shapes, and sizes
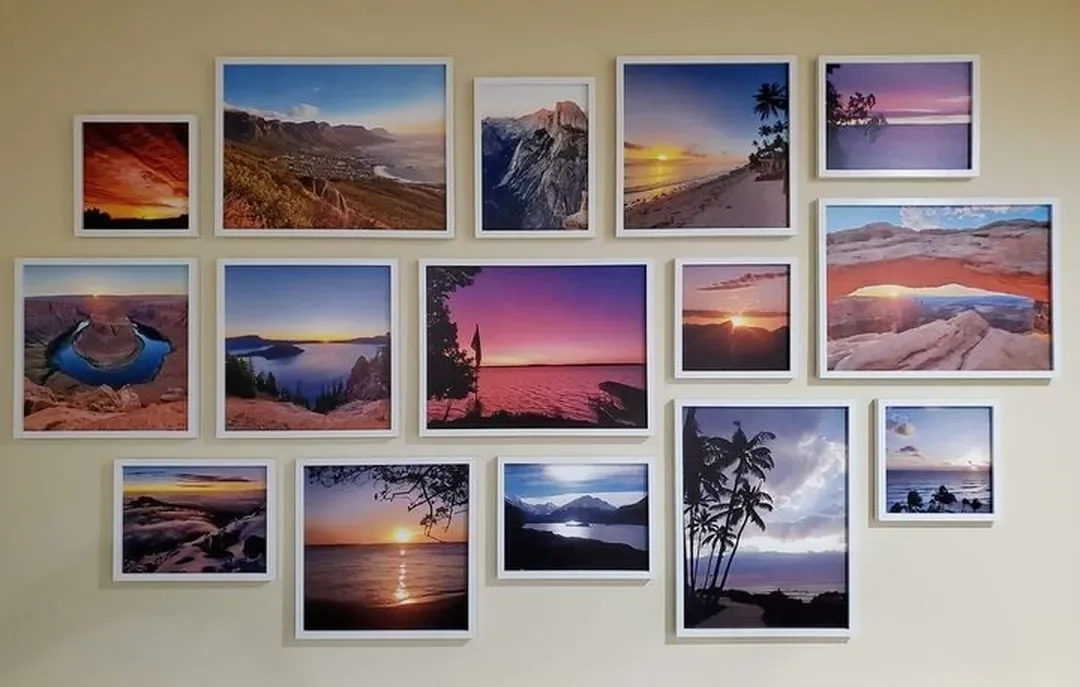
Mix square tiles, rectangular frames, and one or two round objects for flow. Distribute larger pieces across the composition so weight feels even. Blend smooth surfaces, like photo tiles, with a textured element, such as a woven basket or a fabric banner. Keep color and tone balanced from left to right, and avoid clustering all the dark or bright items in one area.
Quick mix suggestion: As a guide, let framed photos and prints do most of the work, then add a few art pieces and one or two objects. This keeps the gallery lively, not chaotic.
Print your favorite photos as lightweight, adhesive picture tiles and rearrange until it feels perfect. No nails, no stress. Open the Mixtiles app to get started.
How do you plan the layout before you hang anything?
Test the design on the floor or wall first, then commit. Planning saves time and gives your gallery a polished look.
Map it on the floor or with tape
Follow these steps to create a gallery you can install with confidence:
- Gather all pieces and group by size, color, and style;
- Lay everything on the floor and try two or three arrangements, snapping photos as you go;
- Trace each piece on paper and tape the cutouts to the wall to preview placement;
- Adjust until spacing looks even and the overall shape feels balanced;
- Mark the centerline and the top edges with light pencil lines for level hanging.
Spacing and alignment secrets
Use these simple rules so your gallery looks clean and curated:
- Keep 2 to 3 inches between pieces for breathing room;
- Distribute visual weight, spreading darker frames and larger pieces across the gallery;
- Align a few edges, and use odd-number clusters to keep the layout dynamic.
- Place the visual center at 57 to 60 inches from the floor, or align the bottom row a few inches above furniture. On a staircase, follow the rise so the gallery guides the eye upward.
Which sizes work best for a balanced gallery wall layout?
Use this quick size guide to mix scale confidently with Mixtiles in your gallery.
|
Advertised Size |
Actual Size (inches) |
Actual Size (cm) |
Best Use |
|---|---|---|---|
|
8 × 8 |
8.4 × 8.4 |
21.35 × 21.35 |
Fillers around a focal photo, great in grids with white frames; |
|
8 × 11 / 11 × 8 |
8.4 × 11 / 11 × 8.4 |
21.35 × 27.94 / 27.94 × 21.35 |
Mix of portrait and landscape to add rhythm; |
|
12 × 12 |
12.44 × 12.44 |
31.6 × 31.6 |
Medium anchors that pair well with small objects; |
|
12 × 16 / 16 × 12 |
12.44 × 16.44 / 16.44 × 12.44 |
31.6 × 41.75 / 41.75 × 31.6 |
Hero photos or a central picture frame moment; |
|
20 × 20 |
19.5 × 19.5 |
49.53 × 49.53 |
Statement square for larger pieces in spacious rooms. |
For more help choosing canvas dimensions that complement your layout and viewing distance, explore our canvas size chart.
How can you hang a mixed media gallery wall without damaging walls?
Choose adhesive, removable solutions so you can create a gallery, refine spacing, and add new pieces without patching holes.
Why adhesive, repositionable frames are a game changer
Mixtiles use stick-and-restick technology or a magnet system for effortless hanging. They are lightweight, renter-friendly, and designed to hold for years on flat painted walls. Many customers also succeed on textured walls and paneling. Press firmly for a secure grip, and clean with a dry, soft cloth. This makes updating your wall art easy when your style evolves.
Nail-free options for small 3D objects
For objects like mirrors or planters, choose removable hardware thoughtfully:
- Use high-quality removable hooks or strips sized for the object’s weight;
- Keep shelves slim and distribute weight across multiple points;
- Test adhesion on a discreet area before final hanging.
How does Mixtiles make a mixed media gallery wall easier?
Mixtiles simplifies design and installation, from selecting frames to hanging. You can order individual tiles or curated gallery wall kits that include ready-to-follow layouts.
Design and order in minutes
Upload photos from your phone or computer, pick a frame style, add a printed border that looks like a mat, then preview your gallery. Consistent sizing makes clean spacing simple.
Update your wall anytime
Add a new photo after a trip, swap positions to refresh the look, or pair tiles with a wall sign for a custom phrase. No patches or tools needed.
A mixed media gallery wall looks polished when you mix variety with unity. Choose a simple theme, repeat a few connectors like frame color or mats, and plan your gallery wall layout before hanging. Start with a focal piece, keep spacing consistent, and use adhesive solutions so you can edit over time. With Mixtiles photo tiles, canvases, and gallery wall kits, you can create a gallery you love today and evolve it as your home and style change.
Ready to build your mixed media photo gallery wall? Turn your photos into peel-and-stick Mixtiles and start arranging today on the app or website.
Frequently Asked Questions
How do I plan and arrange a mixed media gallery wall?
Begin with one focal piece, mix sizes and orientations, and keep 2 to 3 inches between items. Repeat a couple of unifying elements like frame color or mats. Mock up on the floor or with paper cutouts, then use Mixtiles to stick and restick until it feels balanced.
Are gallery walls still in style in 2025?
Yes, they are still going strong, with cleaner palettes and more intentional mixing of photos, art, and a few objects. Personal storytelling is trending. Repositionable, nail-free frames like Mixtiles make it easy to evolve the layout as your style changes.
What is the 57 inch rule, and how does it apply to gallery walls?
The 57 inch rule places the center of artwork at about 57 inches from the floor, close to eye level. For gallery walls, aim for a centerline around 57 to 60 inches, or align the bottom row a few inches above furniture. Follow the stair rise on staircases.
Be the first to know — deals, news & decor ideas.
By clicking you agree to the Terms of Use & Privacy Policy