
DIY Flower Wall Decor: Create a Renter-Friendly Oasis
- Learn what DIY flower wall decor is, which materials to use, and how to plan layouts without damaging walls;
- Get quick, renter-safe decor ideas that pair flowers with Mixtiles for a polished, custom gallery wall;
- Follow step-by-step tips to mix botanical prints, personal photos, and faux or dried florals;
- Use Mixtiles’ adhesive, repositionable tiles to refresh your wall decor seasonally in minutes.
Bring nature indoors with DIY flower wall decor that is simple, stylish, and renter-friendly. Whether you are curating a cozy corner, refreshing a nursery, or building a photo-ready backdrop, you can combine faux or dried flowers with your favorite photos for a look that feels personal and polished. In this guide, you will learn materials, layout tips, and clever, damage-free ideas, plus how to use Mixtiles to create a botanical gallery wall you can rearrange anytime without nails or tools.
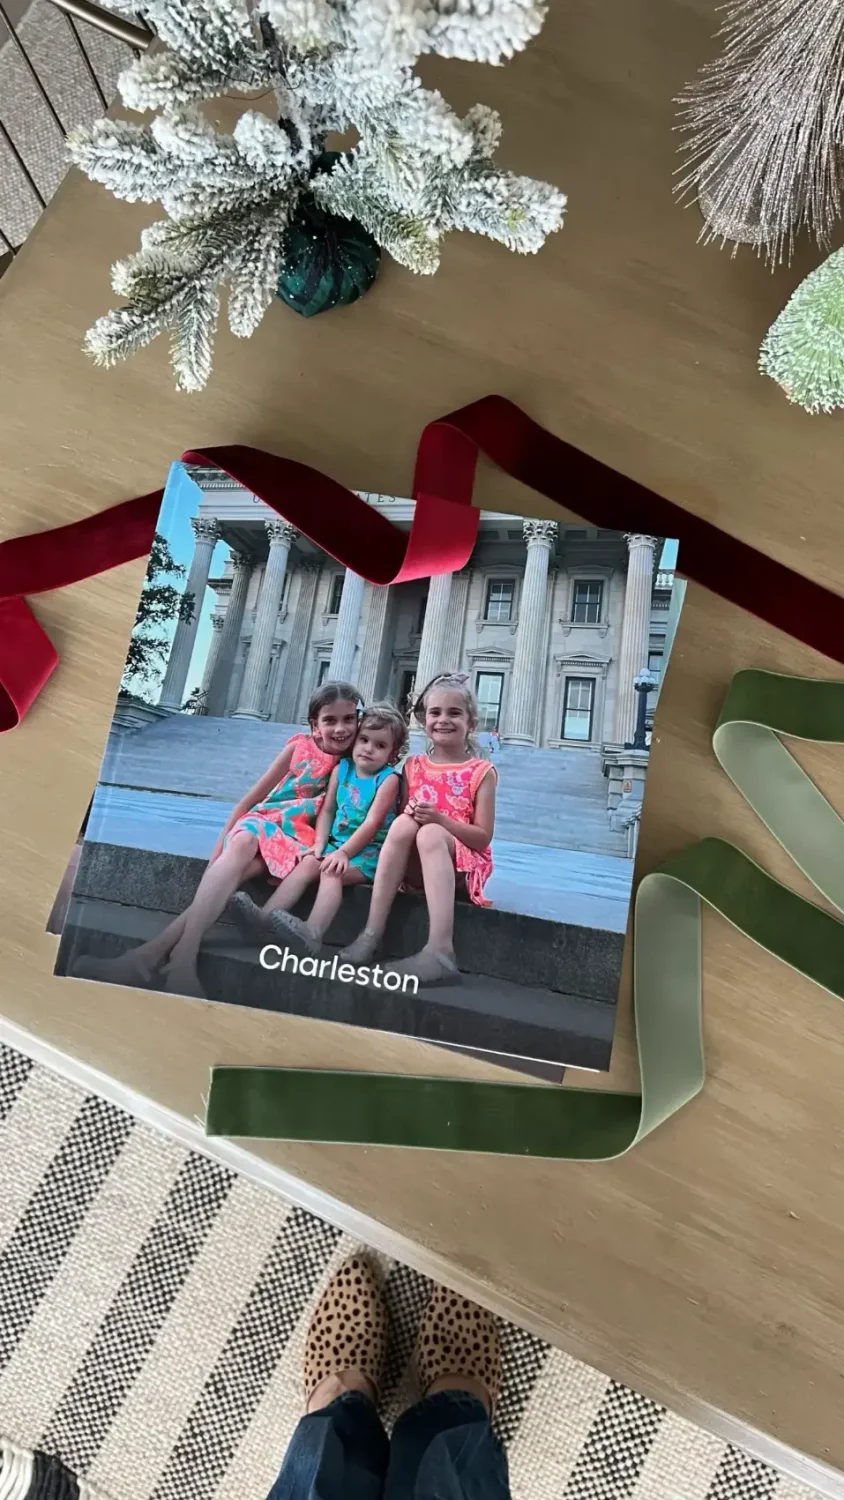
Create stunning gallery walls in minutes. Upload your favorite botanical photos to create beautiful canvas prints or classic tiles, and stick them up with no nails or mess.
What is DIY flower wall decor, and why is it perfect for renters?
DIY flower wall decor is a creative way to add color, texture, and floral charm to your wall. It blends lightweight stems, garlands, or paper blooms with photo tiles to make a personalized flower wall. For renters, it is ideal because you can rely on removable hooks and Mixtiles’ gentle adhesive. The result is a modular setup you can make, move, or refresh without patching holes or repainting.
If you are new to damage-free hanging, start with this guide on how to hang wall art without nails.
Which materials do you actually need to start?
You only need a few easy supplies to make a flower wall. Choose faux or dried flowers, a spool of clear fishing line, floral wire and tape, and removable hooks or washi tape. A hot glue gun can help attach small blossoms to line or to each other. Make sure you avoid gluing anything directly to the wall. For photos, use Mixtiles photo tiles since they stick and restick cleanly for perfect alignment.
Faux, dried, or paper: what flower type fits your space best?
Pick a flower type based on durability, care, and the look you want. Use this quick guide to choose.
|
Flower type |
Pros |
Care tips |
Best for |
|---|---|---|---|
|
Faux |
Reusable; Vivid color; Low maintenance; |
Dust lightly; Avoid heat sources; |
High-traffic rooms; Humid bathrooms; |
|
Dried |
Natural texture; Soft, organic palettes; |
Keep out of direct sun; Avoid high humidity; |
Cozy bedrooms; Neutral living rooms; |
|
Paper |
Budget-friendly; Fully customizable sizes and colors; |
Handle gently; Keep dry; |
Parties; Kids rooms; Seasonal decor ideas. |
Design a botanical wall that moves with you. Start your custom set of picture tiles online or in the app and rearrange your unique wall arts anytime.
What are the quickest DIY flower wall decor ideas for renters?
Try these fast, easy setups when you want a new look in under an hour:
- Garland runner: Drape a eucalyptus or rose garland across removable hooks, then add a few focal blooms with a dot of hot glue;
- Floating string wall: Tie stems to fishing line at staggered heights, secure with washi tape or micro hooks for a light, airy floral veil;
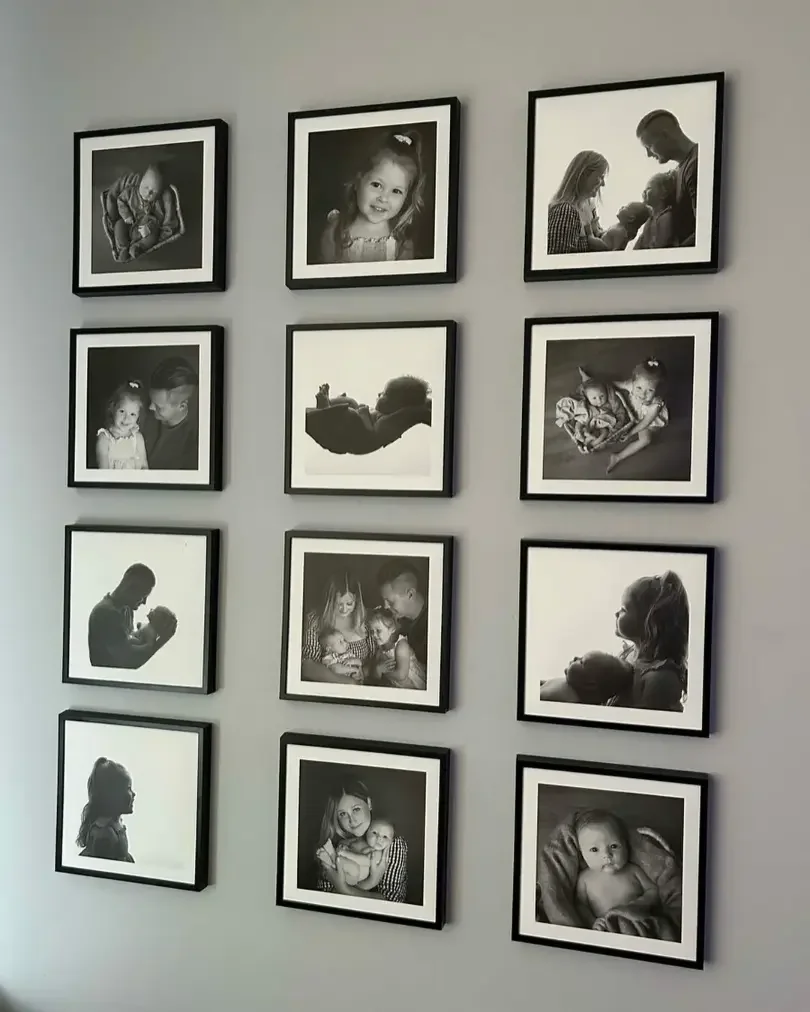
- Botanical photo grid with Mixtiles: Alternate floral prints and personal photos, then tuck a few sprigs around the frame edges for depth.
How do you build a photo-and-flower gallery wall with Mixtiles?
Follow these steps to combine Mixtiles with flowers for a polished, custom display.
- Pick a theme: wildflower meadow, tropical greens, blush neutrals, or monochrome;
- Curate 6 to 12 images for your custom canvas prints: macro flowers, botanical illustrations, and your favorite moments;
- Order Mixtiles, then prep faux or dried stems and small clips while you wait;
- Install Mixtiles in a clean grid, then clip or tie light stems between and around tiles;
- Add a thin garland border or fairy lights, step back, and fine tune spacing.
How do you plan a layout that looks balanced?
Sketch a simple grid, then place your anchors first. Keep spacing consistent and the weight light, and rely on removable hardware and Mixtiles to protect paint.
Layout basics
Choose a focal zone at eye level, measure the width and height, then map a grid on the floor. Mix odd numbers for natural balance, vary stem lengths slightly, and keep vertical spacing consistent. Arrange clusters of flowers around a clean Mixtiles row or a 3 by 3 photo grid so the floral texture frames your images without crowding them.
To dial in placement and spacing, use our tips on how high to hang art on a wall and this walkthrough on how to arrange art on a wall before you stick anything up.
Safety and surface checklist
Before you start, confirm these basics for a clean, safe install:
- Test adhesives on a small hidden area first;
- Keep weight light, distribute it with multiple hooks or lines;
- Clean and dry the wall, avoid peeling or highly textured paint;
- Use a glue gun only on flowers and line, never directly on the wall.
How do you style for seasons, events, and small spaces?
Rotate colors with the seasons for easy refreshes. Try spring pastels and ranunculus, summer brights with zinnias, autumn dried grasses, and winter evergreens. For events, build a welcoming photo backdrop for weddings, showers, or birthdays by centering a Mixtiles collage and framing it with oversized paper flowers.
Short on wall space? Stack two or three tiles vertically beside a mirror, or create a corner vignette above a nightstand. Use Mixtiles Gallery Wall Kits if you want a ready-made layout that installs quickly and aligns perfectly. If you are unsure how many tiles will feel balanced above your furniture, our wall art size guide makes choosing the right scale easy.
DIY flower wall decor is a simple way to transform your space with color, texture, and personality without risking your walls. By choosing the right materials, planning a balanced layout, and pairing florals with Mixtiles, you get a custom look you can refresh for seasons, events, or mood. Start small, build in layers, and enjoy a flower wall that evolves with you.
Make your flower wall come alive. Upload your botanical photos to create a custom photo gallery wall, stick them up in minutes, and rearrange whenever inspiration strikes. Try the Mixtiles app or start on the web today.
How do you style boho decor in small spaces and rentals?
Go vertical, keep spacing even, and choose lightweight pieces. Mixtiles adhere cleanly to most painted walls and can be moved as your decor evolves.
Go vertical
Stack three to six Mixtiles above a console or nightstand. This draws the eye up and saves floor space.
Create a soft focal point
Center over a sofa or headboard, then flank with slim sconces or shallow baskets to frame the scene.
Keep it airy
Use generous white space and lighter frame colors. Wipe walls dry before mounting, then press firmly for a few seconds.
What layout tips keep your boho wall balanced (not busy)?
Ground the arrangement with a single anchor, keep spacing consistent, and repeat two or three tones throughout. For more gallery configurations and spacing ideas, explore our tutorial on how to arrange art on a wall.
- Use a visual anchor: Choose one larger tile, a canvas print, or a wall sign to steady the composition.
- Maintain even spacing: Hold 1–2 inches between pieces. A small level helps for grids, while freeform layouts can be eye-leveled. If you are wondering about eye level, our guide explains how high to hang art on a wall.
- Mix materials, repeat tones: Blend textile, wood, and photos. Repeat shared colors so the eye flows naturally across the wall.
DIY boho wall decor is about warmth, texture, and personal stories. Combine quick crafts with a curated set of Mixtiles to make your space feel lived in and loved. Explore our beautiful canvas prints and other unique wall arts on the website or app. Order in minutes and keep adding memories as your style evolves.
Bring your boho story to the wall. Design your Mixtiles set today and get peel-and-stick frames shipped fast.
Frequently Asked Questions
Is making a flower wall yourself cheaper than buying or renting?
Usually yes. A DIY flower wall often costs $150 to $500, depending on size and materials. Rentals or fresh floral installs can run $200 to $800 or more, then they are single-use. Choose faux stems, buy in bulk, and mix in Mixtiles botanical prints to fill space affordably.
How do I build a budget flower wall from scratch?
Use plastic mesh or chicken wire, bulk faux greenery, and a few statement blooms. Attach with zip ties, then hang the panel on removable hooks. Fill gaps with inexpensive eucalyptus garlands. Alternate panels with Mixtiles photo tiles to cover more wall area while keeping costs low.
What is the cheapest flower wall decor idea?
Paper flowers are the lowest cost. Print templates, cut cardstock, curl petals, and layer. Add printable botanical photos or order a few Mixtiles during a sale to anchor the display. A simple greenery garland plus paper blooms can create a wall accent for under $30 to $60.
How can I make 3D flower wall decor?
Create 3D paper blooms by cutting petal sizes, curling edges with a pencil, and layering around a rolled paper cone or foam center. Mount blooms with removable strips on a grid. Cluster them around a Mixtiles photo arrangement for depth without heavy hardware.
How do I hang a flower wall without damaging paint?
Stick to removable hooks, micro nails only if allowed, and painter's tape or washi for very light elements. Clean the wall first, test adhesives in a hidden spot, and keep weight low. Never hot glue directly to paint. Mixtiles tiles use gentle adhesive and can be repositioned.
Be the first to know — deals, news & decor ideas.
By clicking you agree to the Terms of Use & Privacy Policy