
Staircase Wall Decor Ideas: Transform Your Space Today
Key Takeaways
- Turn your stairs into a story: from gallery walls to statement pieces, these staircase wall decor ideas fit every style and space.
- Use proven layouts and measurements for stair runs so your gallery flows naturally as you walk up.
- Hang frames without nails using adhesive, repositionable Mixtiles, perfect for renters and easy seasonal refreshes.
- Follow step by step templates and pro tips to plan, install, and maintain a stunning, safe staircase wall display.
Your staircase is a built-in gallery waiting to happen. With the right plan, you can turn that vertical stretch into a showstopping story, family memories, travel moments, or bold art, without drilling a single hole. In this guide, you will find staircase wall decor ideas, layout templates that actually fit stairwells, measurement shortcuts, renter friendly hanging methods, and maintenance tips.
Ready to design once, then refresh endlessly. Let’s make your stairs the most loved wall in your home.
Design your staircase gallery walls in minutes. Upload your photos to the Mixtiles app or website, choose your frames, and get a beautiful, repositionable picture wall delivered to your door. No tools, no nails.
Why decorate your staircase wall in the first place?
Stairs offer everyday visibility and a natural flow for imagery. Use that foot traffic to elevate your space with personality and warmth. Here are the core reasons people love stair wall decor.
- It is prime vertical real estate you pass daily;
- A natural story path for photos and art;
- Adds depth, warmth, and value to your home;
- Ideal for renters when you use no damage frames.
Which staircase wall decor ideas fit your style?
The best staircase wall decor ideas align with your home’s vibe and daily routines. Pick a direction, then build a cohesive set of images and finishes so your wall feels intentional.
Modern and minimal

A minimalist design doesn’t mean that you have to leave your walls bare. Keep your space calm and balanced with a clean grid of black and white portraits or architectural photos. Use consistent spacing and neutral frames for a crisp, gallery grade look that feels effortless on the climb.
Cozy farmhouse

A farmhouse design can be extended to combine a mix of warm wood frames with sepia family photos and a reclaimed mirror or heritage clock as your anchor. Layer a few landscape prints for a lived in, timeless feel that complements rustic textures.
Eclectic “salon” mix

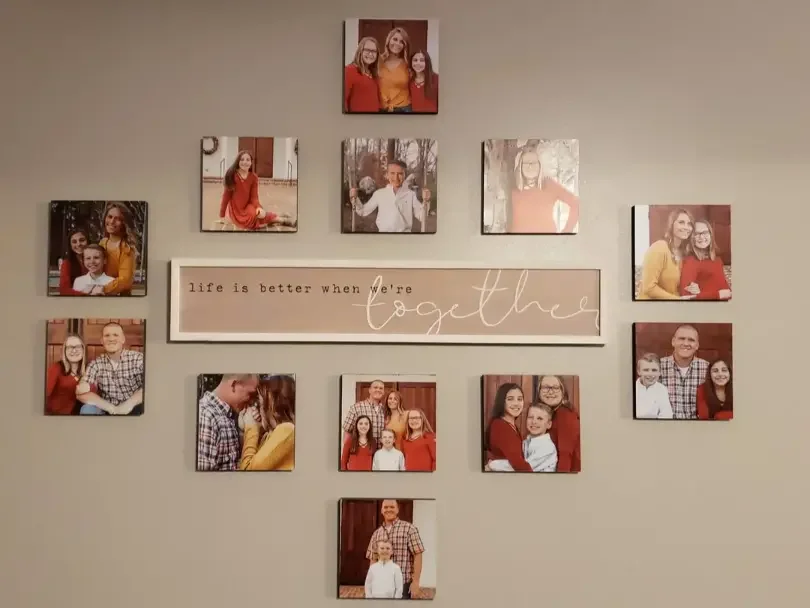
An eclectic wall design can blend family photos, art prints, mirrors, and small found objects to tell a layered story. Unify the variety with one repeating element, for example a shared color, a matte finish, or a recurring frame shape.
Coastal or airy boho

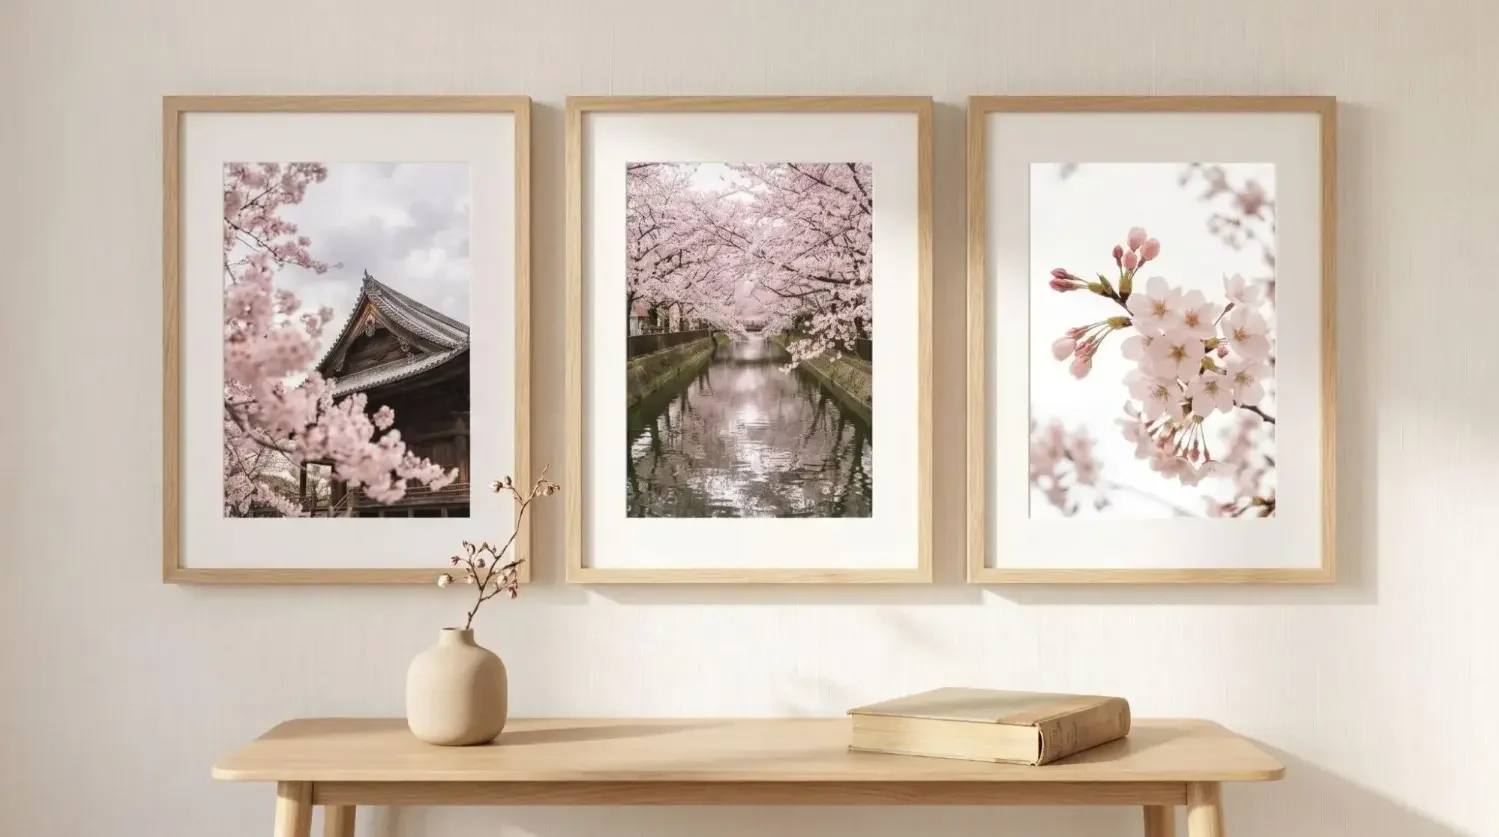
Opt for light woods, linen textures, botanicals, and travel seascapes. A few woven accents add softness, while white or maple frames keep the wall bright in narrow stairwells.
Kids and pets in the spotlight

Choose candid moments and playful crops. Place a few tiles lower for little viewers. Rotate new school art or pet portraits seasonally to keep the wall lively.
Vintage and moody

Paint the stairwell in a deep tone, then contrast with ornate frames and heritage portraits. Add warm sconces on landings to enhance shadow and depth without glare.
Wallpaper as a backdrop

Use a subtle, small scale pattern to add character. Keep frames simple to avoid visual noise, then let the photos provide the detail up close.
Mirrors, clocks, and sculptural objects

A single oversized mirror or clock can anchor the composition, then flank it with photo tiles to balance the weight. Mirrors also boost light in tight stairways.
Greenery that is stair safe

Mount shallow wall planters near landings and keep them away from head paths. Soft trailing plants soften edges and mix nicely with square photo tiles.
Typography and word art

Include a family name, a favorite lyric, or coordinates of a meaningful place. Pair type pieces with images that echo the same mood for cohesion.
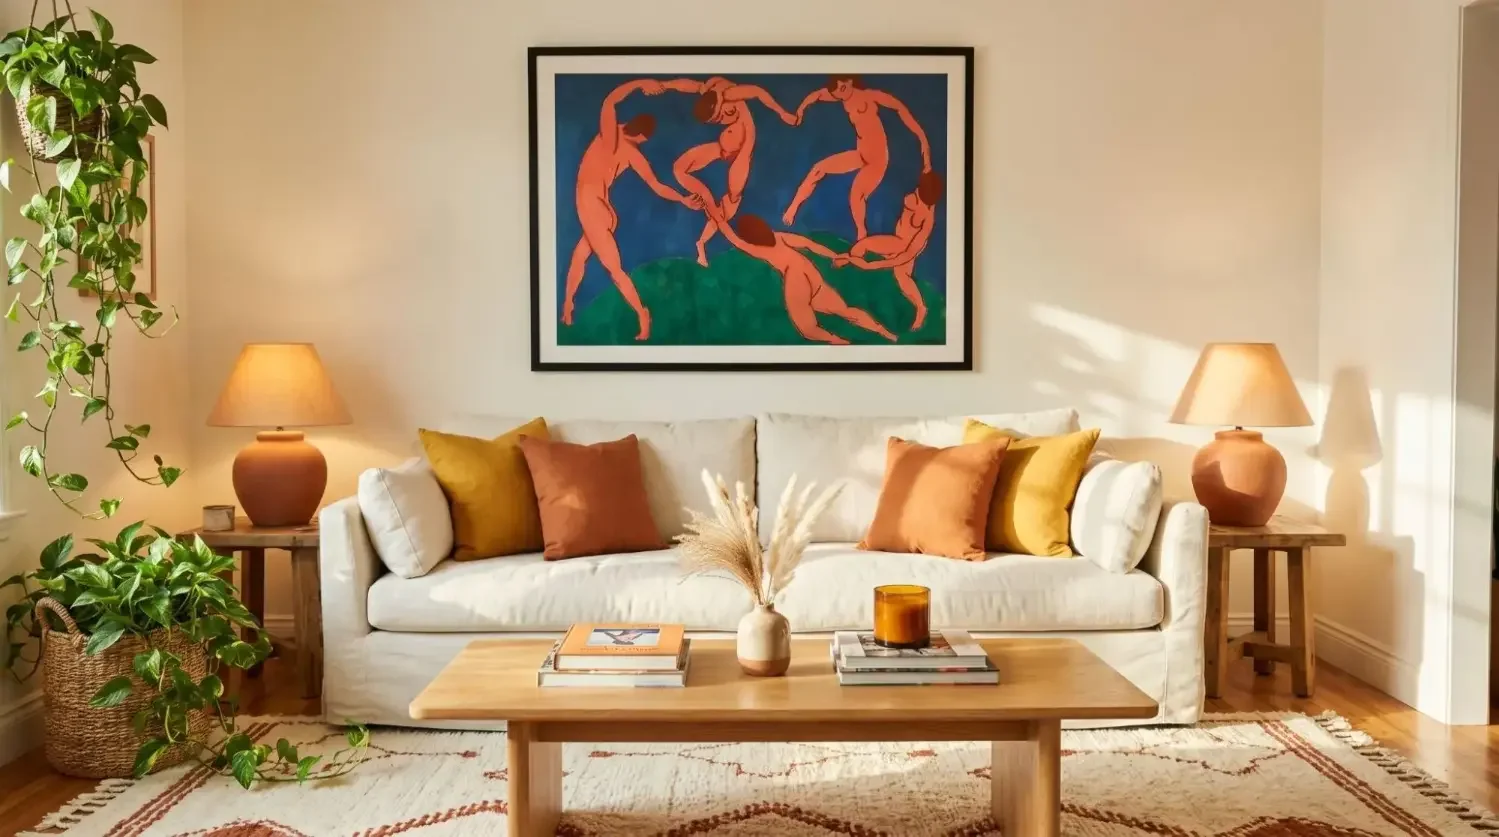
One oversized statement

Feature a single large photo or canvas at the landing or mid flight, then let negative space frame it. Minimalist drama works beautifully in modern spaces.
Travel timeline

In addition to showcasing small snapshots of your adventures, consider purchasing trip photos in the form of a book that you can place at the bottom of the stairs. This narrative approach turns your commute to bed into a quick world tour.
Wedding to now story wall

Begin with wedding or commitment photos at the base. Add life chapters as you climb, from first home to first pet or baby. It is a moving, living album.
Seasonal or swap friendly

Keep a few spots designed for rotating prints. Swap in holiday, spring, or vacation sets without rethinking the whole wall when you use repositionable tiles.
How do you plan a gallery wall going up the stairs?
Successful stair galleries follow a rising centerline, even spacing, and a layout that respects switches and handrails. Measure first, then mock up, so the flow feels smooth step by step.
To accompany you with your efforts, we’ve provided below a stair gallery measurement cheatsheet:
|
Parameter |
Imperial |
Metric |
Notes |
|---|---|---|---|
|
Sightline midpoint height |
57 to 60 in |
145 to 152 cm |
Parallel the handrail for a natural viewing path |
|
Spacing between tiles |
1.5 to 2 in |
4 to 5 cm |
Use one spacer for consistency along the rise |
|
Handrail clearance |
2 in minimum |
5 cm minimum |
Prevent knuckle bumps on descent or ascent |
|
Common tile sizes |
8 x 8 in, 8 x 12 in |
20 x 20 cm, 20 x 30 cm |
Squares feel tidy, rectangles add rhythm |
|
Fresh paint cure time |
2 weeks |
14 days |
Wait before applying adhesives for best results |
Map your “sightline”
Choose an imaginary centerline that rises parallel to the handrail. As you place each frame, keep the midpoint around 57 to 60 inches relative to the step you would stand on while viewing that area. This keeps the composition comfortable from all vantage points.
Measure your rise and run
Record the length of the staircase, the floor to floor height, and the position of landings, switches, and vents. Knowing your clear zones upfront prevents awkward gaps later and improves the flow of your stairway wall decor ideas.
Choose your tile count and spacing
Decide how many tiles you need by sketching a diagonal path of frames, then choose consistent spacing. A single spacer cut to 1.5 or 2 inches simplifies leveling as you move up the stairs.
Create a paper mockup or use an app
Cut paper to the size of your frames and tape them in position, or arrange your set digitally to confirm balance. Stand back from the base and mid landing to spot any crowding or gaps.
What layouts work best on staircase walls?
Layouts that echo the incline of your stairs feel the most natural. Choose a scheme that fits your imagery and the length of your run so your gallery reads as one continuous idea.
Classic diagonal grid
Squares march up in a precise diagonal that mirrors the handrail. It is ultra tidy and perfect for modern portraits or black and white series that benefit from repetition and rhythm.
Staggered step pattern
Two rows interlock like steps. This adds movement and gives you more flexibility with mixed sizes, which is ideal for family collections and varied wall art ideas.
Center rail layout
Establish one visual rail of frames at eye level, then sprinkle a few tiles above and below to keep interest. This approach is easy to expand as your photo library grows.
Salon style cluster
Build around a single anchor, such as a mirror or large canvas, then cluster smaller frames around it. Vary heights for a collected gallery feel that still respects the incline.
Big anchor plus satellite tiles
Start with one oversized focal point at a landing or midpoint. Add six to ten smaller tiles that radiate from it. This balances boldness with plenty of story moments.
Landing feature wall
Treat the landing as a mini gallery wall, then echo the palette or subject as you continue up the adjacent rise. The landing acts like a breath before the next chapter.
Which sizes and finishes should you choose for a cohesive look?
Consistency creates calm, while strategic variation adds energy. Pick sizes and finishes that match your home’s materials and the emotion of your photos.
Keep sizes consistent for calm, vary for energy
Uniform 8x8 canvas prints can feel orderly and contemporary. Mixing rectangles like 8 x 12 adds motion and gives panoramas or full body portraits more room to breathe.
Frame finishes that match your home
Black frames deliver crisp contrast in modern spaces. White feels airy and coastal. Maple or wood tones bring warmth that pairs well with farmhouse or boho stair wall decor ideas.
Crop smart
In portraits, keep eyes a touch above the midpoint for a natural connection while passing. Alternate wide shots with detail close ups for rhythm as people climb.
How do you hang frames on a staircase wall without nails?
Use lightweight, adhesive frames that you can reposition. Mixtiles wall photo tiles and canvas prints with peel and stick or magnetic mounting make stair installs quick, clean, and renter safe. Want a deeper walkthrough for different surfaces and scenarios? Check out our guide on how to hang wall art without nails.
Why adhesive photo tiles are a stairwell MVP
Adhesive tiles are light, easy to level from one tile to the next, and simple to remove without patching or repainting. They are especially helpful where ladders and angles make hammering tricky.
Step by step: install with confidence
Follow this simple sequence to get a straight, safe gallery on the first try.
- Prep your surface, wipe the wall with a dry microfiber cloth and confirm the paint is fully cured for at least two weeks;
- Mark the rising centerline, use painter’s tape parallel to the handrail to guide placement and spacing;
- Place your first tile, start near the lower third of the run, align to the tape, and press firmly from center outward;
- Add tiles with a spacer, maintain 1.5 to 2 inches between edges so the gallery breathes and looks intentional;
- Check from multiple steps, step back often to confirm level and flow, then lift and re stick gently if an adjustment is needed.
Safety Note: Keep frames clear of the handrail and shoulder zones. Avoid heavy or protruding objects at head height. On highly textured walls, test one tile first to confirm secure adhesion.
Decorating a small, narrow, or dark stairwell? What changes?
Lighten the palette, reduce depth, and use reflective elements. Smaller tiles and tidy diagonals make tight stairs feel open and safe.
Go vertical and light
Use a compact diagonal of squares with white or maple frames. Add a mirror at the landing to bounce natural or artificial light through the stairwell.
Use reflective and bright imagery
Choose high key photos, beach scenes, and bright family moments. If you prefer black and white, widen the whites and keep contrast gentle to maintain airiness.
Streamline frame depth
Opt for slim, lightweight tiles so the passage feels wider. Mixtiles Gallery Wall Kits keep depth consistent and make measuring in narrow spaces easier.
Build your staircase gallery the easy way. Turn your favorite photos into stunning canvas prints. With Mixtiles, you get adhesive, removable frames you can reposition anytime. Start on the app or web to create your custom canvas prints and order in minutes.
How do you create a cohesive story with your photos?
Pick a theme, edit consistently, and arrange images with intention. This turns a set of pictures into a narrative you will love passing every day.
Pick a theme
Choose family milestones, travels, everyday candid joy, or a single color palette. A clear theme simplifies selection and strengthens impact.
Unify with editing
Convert a mix of photos to black and white or apply a soft, consistent preset. Matching temperature and contrast helps different shoots feel like a single collection of wall art ideas.
Sequence with intention
Go chronological, alternate wide and detail shots, or pair portraits with place photos. Repetition of faces and locations creates rhythm along the rise.
What common staircase wall mistakes should you avoid?
A few small missteps can make a wall feel off balance. Avoid these pitfalls to keep your stairway wall decor ideas crisp and cohesive.
- Hanging too high or too low relative to the stair sightline, which strains the neck.
- Uneven spacing that breaks the rhythm up the rise and looks messy.
- Overcrowding without a clear anchor, which confuses the eye and reduces impact.
- Glare from overhead fixtures, choose matte or glare free finishes when possible.
- Ignoring safety clearances near the handrail or tight turns, keep a safe buffer.
Can you mix photos with objects and shelves safely?
Yes, combine photos with a few shallow objects, but plan depth and traffic carefully. Keep anything protruding away from shoulder height and sharp turns.
Plan depth and traffic
Map the narrowest points of your stairs and avoid anything that extends too far. Shallow ledges and small mirrors are fine on landings where people pause.
Combine gently
Balance a slim sconce or small basket with photos to soften edges. Keep the mix light to maintain safety and visual clarity.
Balance the visual weight
If an object is bold, counterweight it with a cluster of images nearby. This stabilizes the composition and prevents one side from feeling heavy.
5 Quick-start staircase gallery recipes for success
Use these ready to build templates to kickstart your stairs wall decor ideas. Each one scales up or down depending on your wall length.
9 tile diagonal starter, modern
Create three by three squares stepping up the incline with tight alignment and 1.5 inch gaps. Black frames and black and white portraits deliver a clean, architectural vibe.
12 tile travel story, eclectic
Alternate 8 x 8 and 8 x 12 tiles in a staggered two row pattern. Use white and maple frames and arrange by trip order for a chronological travelogue.
16 tile family mix, welcoming
Build a center rail of squares at eye level, then add a few satellites above and below. Keep a warm edit across images for a cozy, unified feel.
8 tile kids’ art rotation, playful
Place two mini clusters on the lower half of the wall where kids can see their work. Swap new art each season and store previous pieces flat in the box.
Landing spotlight plus stair echo
Hang one large focal point on the landing, then echo its colors with six to eight supporting tiles on the adjacent rise. The landing becomes a visual pause between chapters.
How do you maintain and refresh your staircase wall?
Keep dust off, rotate seasonally, and update favorite photos a few times a year. Adhesive tiles make refreshes quick and gentle on paint.
Dusting and care
Use a dry microfiber cloth on frames. Avoid harsh cleaners on prints or frames. If needed, lightly dampen the cloth and dry immediately.
Seasonal swaps
Store alternates flat in their original packaging. Rotate four to six tiles per season so your wall feels new without a full rehang.
Photo refresh routine
Batch edit new favorites with a consistent preset. Replace a few tiles at a time so the gallery evolves while staying cohesive.
Your staircase wall can become the most personal, joyful gallery in your home. With these staircase wall decor ideas, plus straightforward measurements and layouts, you can design a display that grows with your life.
Use Mixtiles photo tiles, canvas prints, or gallery wall kits to hang without nails and refresh anytime. Whether you prefer minimalist grids or eclectic mixes, your stairway wall decor ideas can look professionally planned and beautifully maintained.
Ready to build a no nails staircase gallery you can change anytime? Create your own photo tiles with the Mixtiles app or website. Just upload your photos, pick your frames, and enjoy fast delivery of your damage-free picture tiles.
Frequently Asked Questions
How do I decorate a staircase wall, start to finish?
Start with measurement. Map a rising sightline parallel to the handrail, about 57 to 60 inches relative to each step. Choose a diagonal grid or staggered pattern, keep 1.5 to 2 inch gaps. Set a theme, then use adhesive, repositionable frames like Mixtiles to hang cleanly without nails.
What wall decor trends work best on staircases right now?
Trends include bold geometric or floral wallpapers, abstract and nature inspired art, relaxed gallery walls that mix sizes, and a single oversized statement at a landing. Light woods, matte black frames, and mirrors to bounce light are popular. Keep edits cohesive so the climb feels calm and intentional.
Which paint colors look great on staircase walls?
Greige is a favorite, warm and versatile. Also popular, soft whites, warm taupe, sage green, and dusty blue. For drama, charcoal or navy with light frames feels sophisticated. In narrow or dark stairwells choose lighter tones to brighten the run and reduce visual weight.
How should I choose art for a stair wall?
Curate a sequence, stair walls reward stories. Vertical pieces often suit tall spans, horizontals can crowd. Mix sizes thoughtfully and keep a consistent color edit or theme. Alternate portraits with wider scenes for rhythm. Print on lightweight tiles so updates and releveling stay stress free.
Be the first to know — deals, news & decor ideas.
By clicking you agree to the Terms of Use & Privacy Policy