
Canvas Painting Tutorial: Easy Steps for Beginners
Key Takeaways
- Essential supplies and a beginner setup that makes any canvas painting tutorial easier.
- A reliable step sequence and quick tips inspired by popular painting tutorials.
- Four effortless painting ideas that look great with minimal time and materials.
- How to display your art as peel‑and‑stick Mixtiles or canvas prints with zero tools.
If you’ve been searching for a beginner-friendly canvas painting tutorial, this guide covers materials, setup, a foolproof process, and simple painting ideas. You’ll also learn quick fixes for common issues and how to turn your finished piece into wall decor. Prefer no-mess display? Upload a photo of your art and get adhesive, repositionable photo tiles delivered.
Ready to decorate? Turn your artwork into photos tiles with Mixtiles in minutes. Upload your photo and choose your style.
What basic supplies do you need to start painting on a canvas?
You can begin with:
- A small canvas;
- A limited acrylic painting palette;
- Three brushes;
- Simple tools like a palette, water cup, and paper towels.
Choose budget-friendly supplies; skill matters more than price.
|
Canvas Size (in) |
Metric (cm) |
Best For |
|---|---|---|
|
8 × 10 |
20.3 × 25.4 |
Practice pieces, quick studies |
|
11 × 14 |
27.9 × 35.6 |
Beginner projects, gifts |
|
12 × 16 |
30.5 × 40.6 |
Room accents, bolder compositions |
Testing square formats or bolder palettes? Printing a study as 12x12 canvas prints lets you evaluate scale and edge tension before committing to a larger canvas.
How should you set up your canvas and plan your composition?
Keep it simple: sketch main shapes lightly, place your focal point off-center, and decide on a dominant color with one contrasting accent for balance.
Quick surface prep
Lightly sketch with pencil or chalk and tape the edges if you want a clean border; this prevents smudges and keeps proportions clear.
Composition in 60 seconds
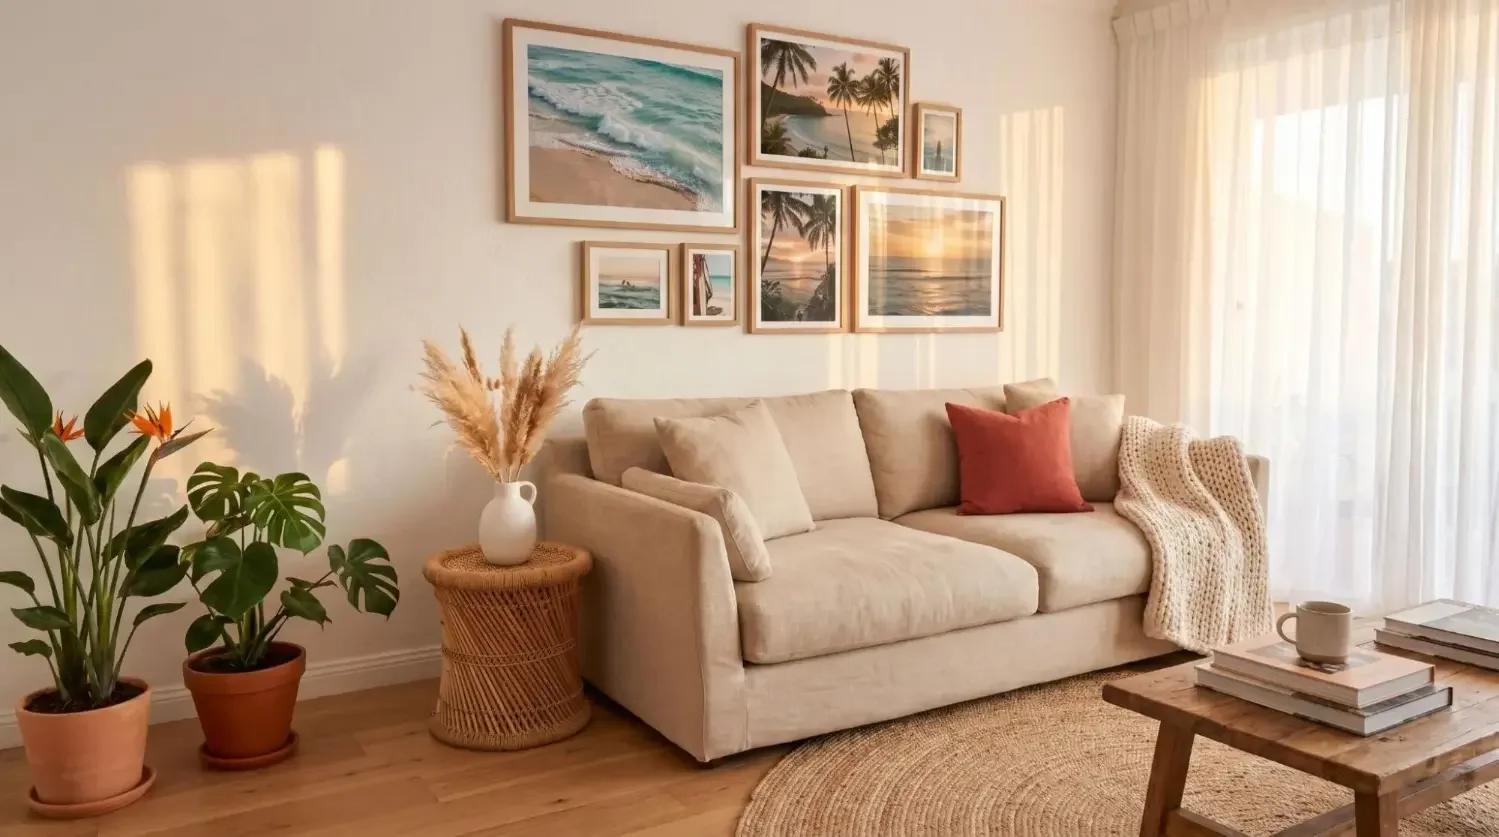
Use the rule of thirds and avoid centering the subject; include simple foreground, midground, and background to add depth fast. When you plan your composition, think about how the piece will live at home : if you’re building a small series, layout ideas for clean, balanced gallery walls can help you visualize spacing and flow.
Color plan
Choose a dominant hue, one contrasting accent, and a neutral; test blends on the canvas edge before committing.
What’s the easiest step-by-step process to paint your first canvas?
New to acrylics? Our beginner-friendly canvas tutorial covers the essentials fast: smart prep (limited palette, toned canvas, light sketch), a simple paint sequence (background, big shapes, midtones, details), and quick post-paint steps (dry, optional varnish, photograph).
1. Prep: palette, toned canvas, light sketch

- Mix a limited palette: Set up small puddles of your dominant hue, one contrasting accent, and a neutral. Pre-mix a few midtones so you’re not scrambling while paint dries. Test blends on the canvas edge or a scrap.
- Tone the surface (optional): Brush on a very thin, transparent wash (diluted neutral) and let it dry. This unifies values and helps you judge light vs. dark more easily.
- Light sketch: Mark the horizon and main shapes with pencil or chalk. Keep lines light and simple; think big masses, not details.
2. Background blend

With your largest brush, create a gradient (dark to light) while paint is wet to set mood and harmony.
3. Block in big shapes

Map land, sky, water, or florals in flat color masses; ignore details for now.
4. Build midtones and highlights

Layer lighter mixes and let bits of underpainting show for depth.
5. Add details and accents

Use a small round for edges, lines, and silhouettes; reserve pure white for final sparkle.
Snap progress shots as you paint; compiling those steps into concise, keepsake photo books is a smart way to document your learning curve.
6. Final touches

Glaze shadows, add light texture with a dry brush or palette knife, then sign your work of art.
Post-paint: dry, finish, digitize
- Dry: Let the painting dry flat, away from dust. Avoid touching shiny areas; they may still be tacky.
- Finish (optional): Once fully dry, apply a thin acrylic varnish (matte, satin, or gloss) for protection and even sheen. Remove any edge tape for crisp borders.
- Digitize: Photograph in bright natural light (no direct glare), square up the frame, and lightly crop/straighten so colors and edges look true.
Love the result? Print it as photo tiles or canvas prints with Mixtiles!
Which beginner canvas painting ideas look great with minimal effort?
Try themes that reward simple techniques: gradients, silhouettes, and bold shapes deliver high impact with low complexity.
- Night sky with silhouettes: Blend a twilight sky, add a moon and star flicks, then layer tree or bird silhouettes for drama.
- Simple flower bouquet: Start with a soft background, then use a filbert to shape petals and add a touch of highlight.
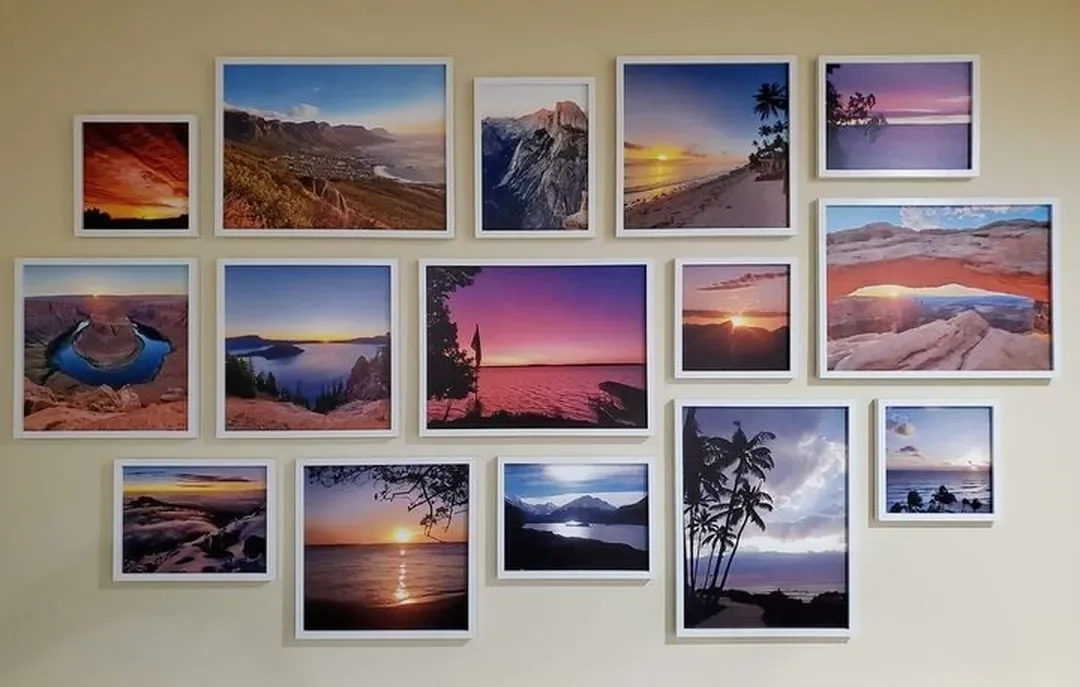
- Sunset over water: Create horizontal blends and mirrored reflections; finish with thin white ripples.
- Abstract shapes and lines: Tape geometric sections, paint a cohesive palette, then peel for crisp edges.
How do you fix common painting mistakes fast?
Use these quick corrections to save a piece without starting over:
- Muddy colors: Let layers dry, then glaze a transparent color instead of overmixing.
- Harsh lines: Feather with a damp, clean brush or add a midtone glaze to soften.
- Flat subjects: Push contrast with darker shadows and brighter highlights near the focal point.
- Overworked areas: Step back, simplify shapes, add one confident detail, then stop.
Can you turn your canvas (or a photo of it) into ready-to-hang wall art with Mixtiles?
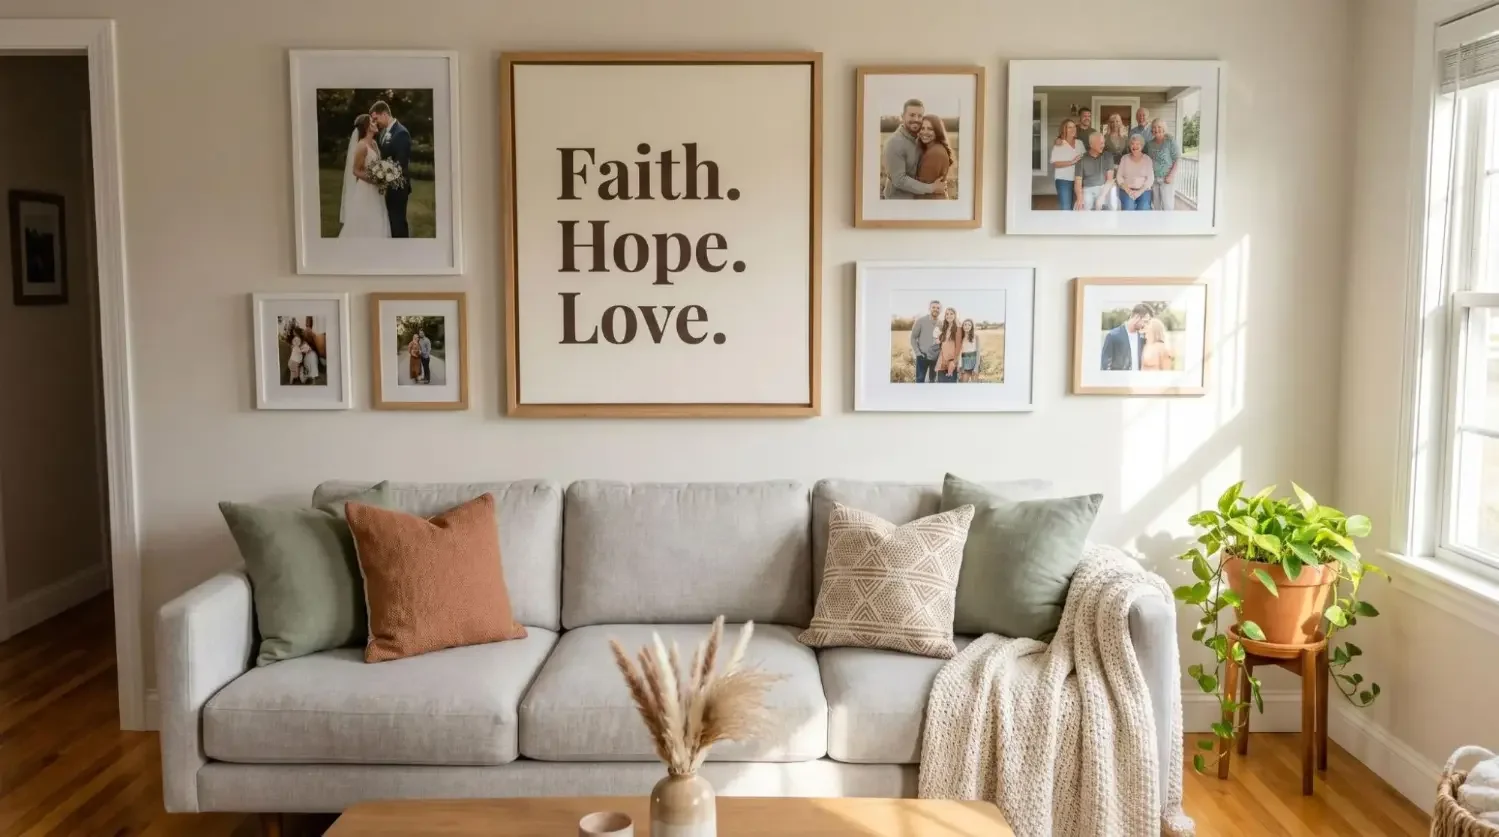
Yes! Snap your painting, upload it, and get lightweight, adhesive wall art you can stick and re‑stick without damage.
Digitize your painting
Photograph in natural light, crop and straighten, and ensure colors look accurate on your screen.
Print with Mixtiles
Upload via the app or website, choose the product you want, and select sizes that fit your space.
Arrange and enjoy
Create a rotating mini‑gallery of your artworks, or use our Gallery Wall Kits to plan layouts effortlessly.
With a compact materials list, a clear sequence, and beginner‑friendly painting ideas, any canvas painting tutorial becomes approachable. Practice clean layers, add confident highlights, and finish with a photo to print as photo tiles for instant, tool‑free display.
Turn your favorite painting into instant wall art. Upload it to Mixtiles now and get adhesive, repositionable photo tiles delivered to your door.
Frequently Asked Questions
What are the easiest beginner‑friendly subjects to paint on canvas?
Start with high‑impact, simple subjects: twilight gradients with tree silhouettes, sunsets over water with mirrored reflections, taped geometric shapes, or a loose flower bouquet. Use a limited palette and big brushes first; add a few crisp details last for polish.
What should I paint first on a canvas?
Block in the background and biggest shapes before details. Work large to small: lay a soft gradient or flat tone, map major color areas, then build midtones and highlights. Reserve bright accents and pure white for the final pass.
Should I wet my canvas before painting with acrylics?
No soaking needed: most canvases come pre‑gessoed. Keep your brush slightly damp for smoother strokes, or mist the palette to extend open time. For very smooth blends, lightly mist the surface, not saturate it. Let layers dry between passes.
Is there a “first rule” of painting for beginners?
Paint what you love, then simplify. Choose a clear focal point, limit your palette, and avoid rushing. Work in clean layers and step back often. Trust your eye over strict rules, and stop when the piece feels fresh, not overworked.
Be the first to know — deals, news & decor ideas.
By clicking you agree to the Terms of Use & Privacy Policy